App Customization
When you app_tvos folder has been created, you will need to customize some properties to match your application instead of template. Here is the minimum that is recommended to achieve.
Change launch icon
Caution
Requirements : VS Code
The TVOS launch icon contain 3 layers (ask studio to create them).
Then to change the actual assets by the new ones :
- banner_back.png
- banner_front.png
- banner_middle.png
![]()
Rename application name and identifier
Requirements : VS Code
Open “Info.plist” file in app_tvos.
Rename application
Add or modify if already present this entry.
<key>CFBundleDisplayName</key>
<string>Wiztivi Framework</string>
Rename indentifier
Add or modify if already present this entry.
<key>CFBundleIdentifier</key>
<string>tvos-Wiztivi-Framework.App</string>
Customize LaunchScreen
There is 2 ways to customize the LaunchScreen.
The fast one is to replace the images, It’s only doable if the LaunchScreen asset is already set. For this solution you just have to use VS Code.
The second one if the LaunchScreen isn’t created yet, create the splashscreen Image asset and set it. For this solution you need XCode.
Replace images
Requirements : VS Code
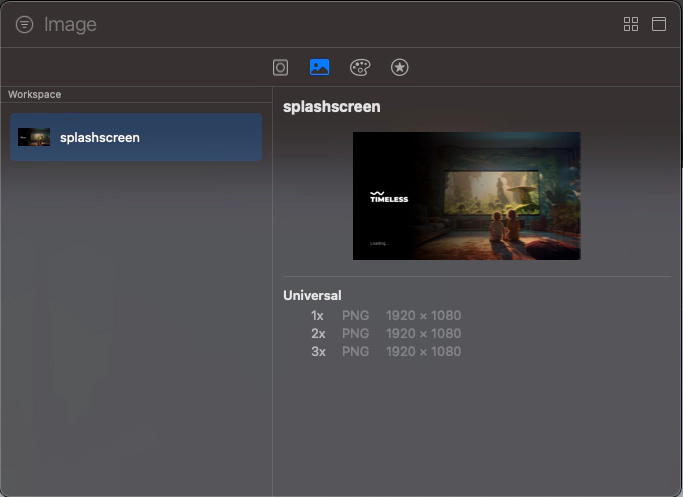
In the sample below (coming from Timeless), you can see 3 images.
- size x1 : ic_launcher_foreground.png
- size x2 : ic_launcher_foreground 1.png
- size x3 : ic_launcher_foreground 2.png
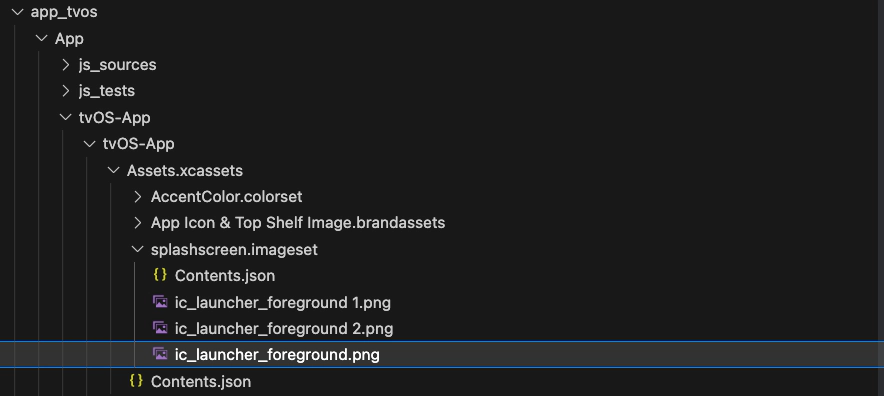
The 3 images can have the same size.
Create and set new splashscreen images
Caution
Requirements : VS Code
- Open the
app_tvosfolder inXCode - Open
Assets.xcassetsfile. This file referencing all assets of the TVOS Application. Like application icons
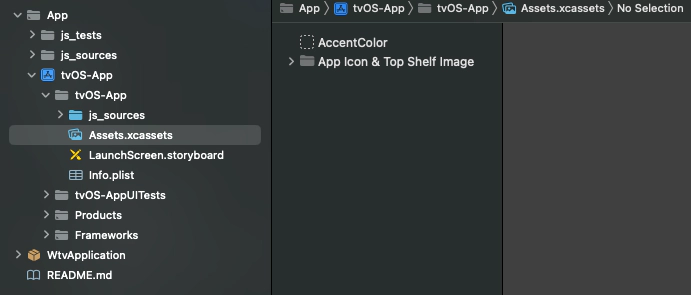
- Add new Image Set
Right click in the empty zone below “App Icon & Top Shelf Image” and create new Image set
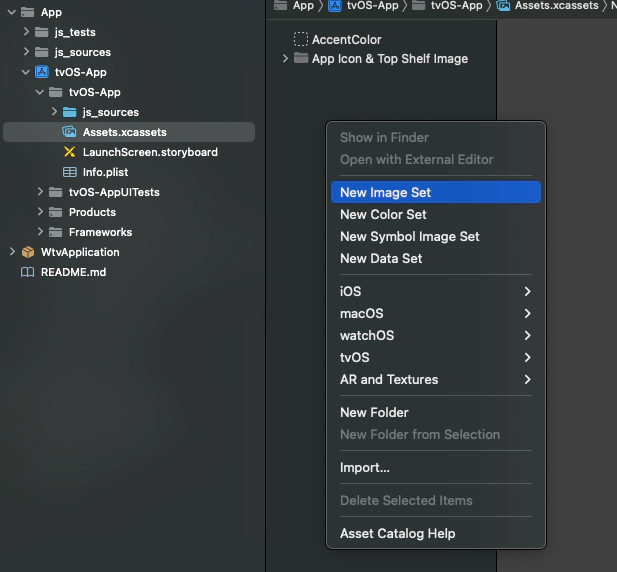
- Below the result after create new Image Set named “splashscreen”
Result in XCode

Result in VSCode

And the content of Contents.json :
{
  "images" : [
    {
      "filename" : "splashscreen.png",
      "idiom" : "universal",
      "scale" : "1x"
    },
    {
      "filename" : "splashscreen 1.png",
      "idiom" : "universal",
      "scale" : "2x"
    },
    {
      "filename" : "splashscreen 2.png",
      "idiom" : "universal",
      "scale" : "3x"
    }
  ],
  "info" : {
    "author" : "xcode",
    "version" : 1
  }
}- Open the
“LaunchScreen.storyboard”
Here the LaunchScreen.storyboard is empty and display an light gray screen.
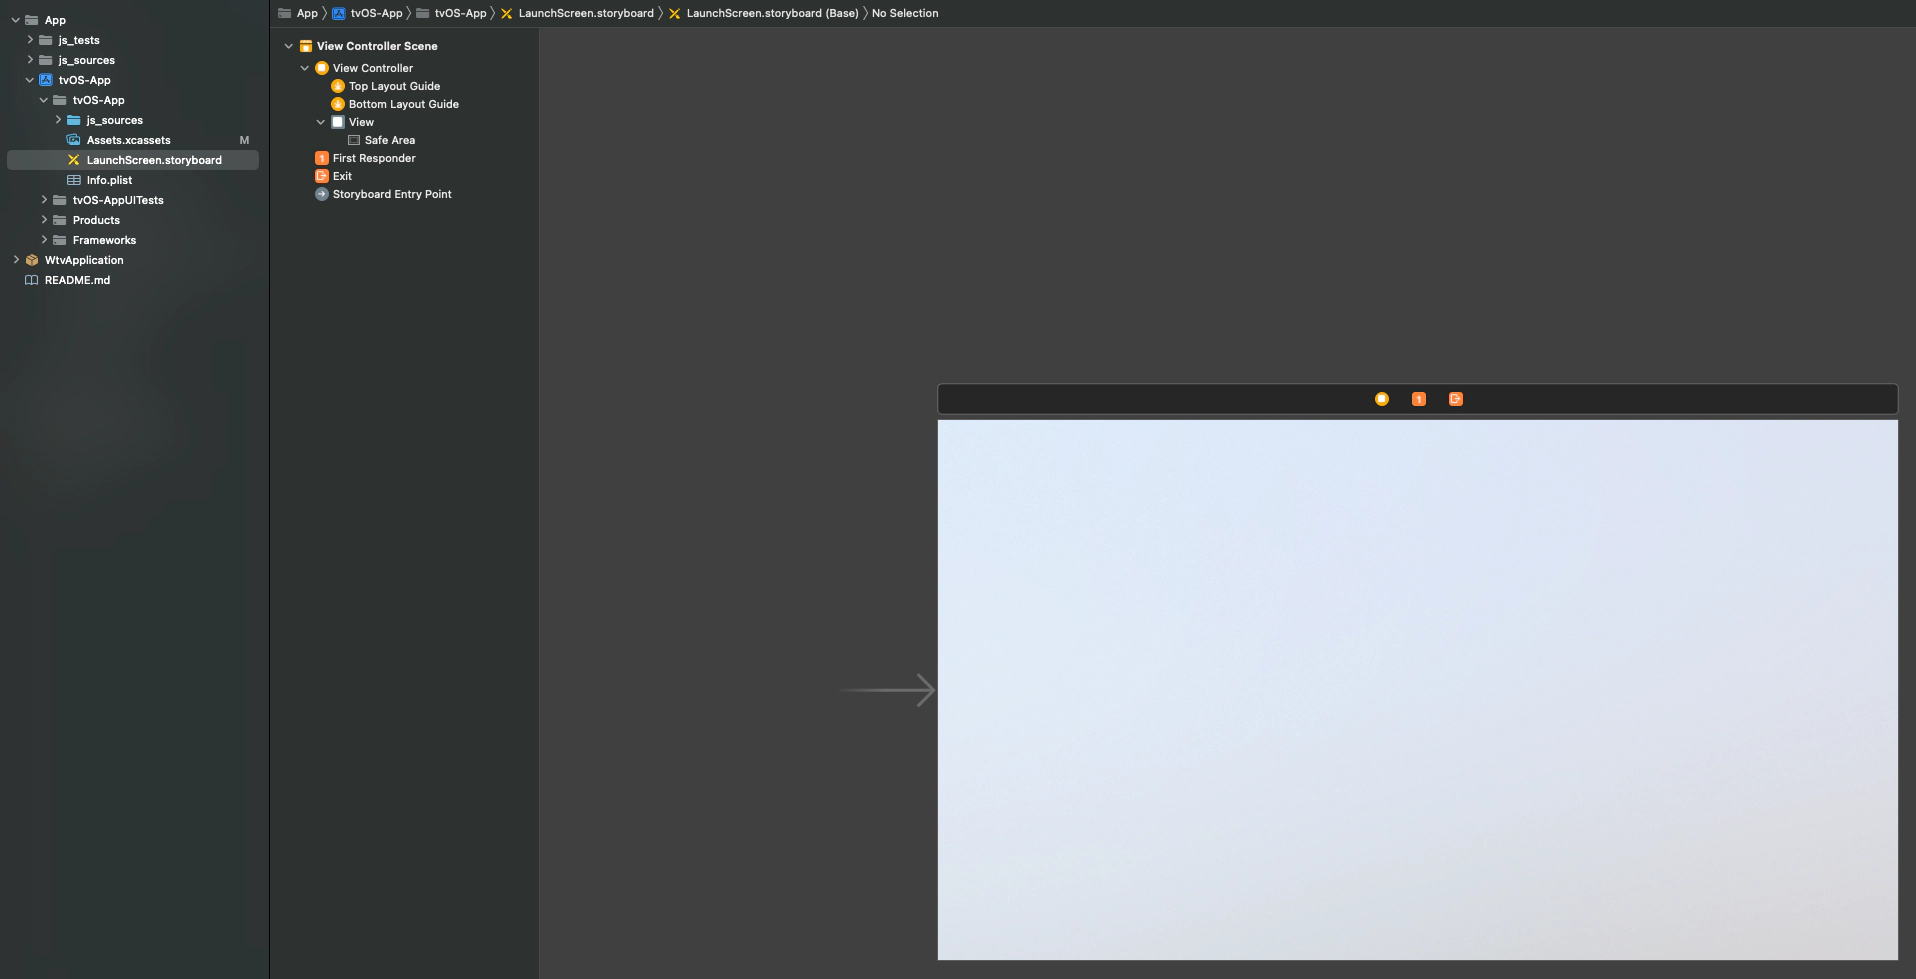
- Add the new Image Set
“splashscreen”in the“LaunchScreen.storyboard”
First, Press “Maj + Cmd + L” or “View/Show Library” to open the Library popup
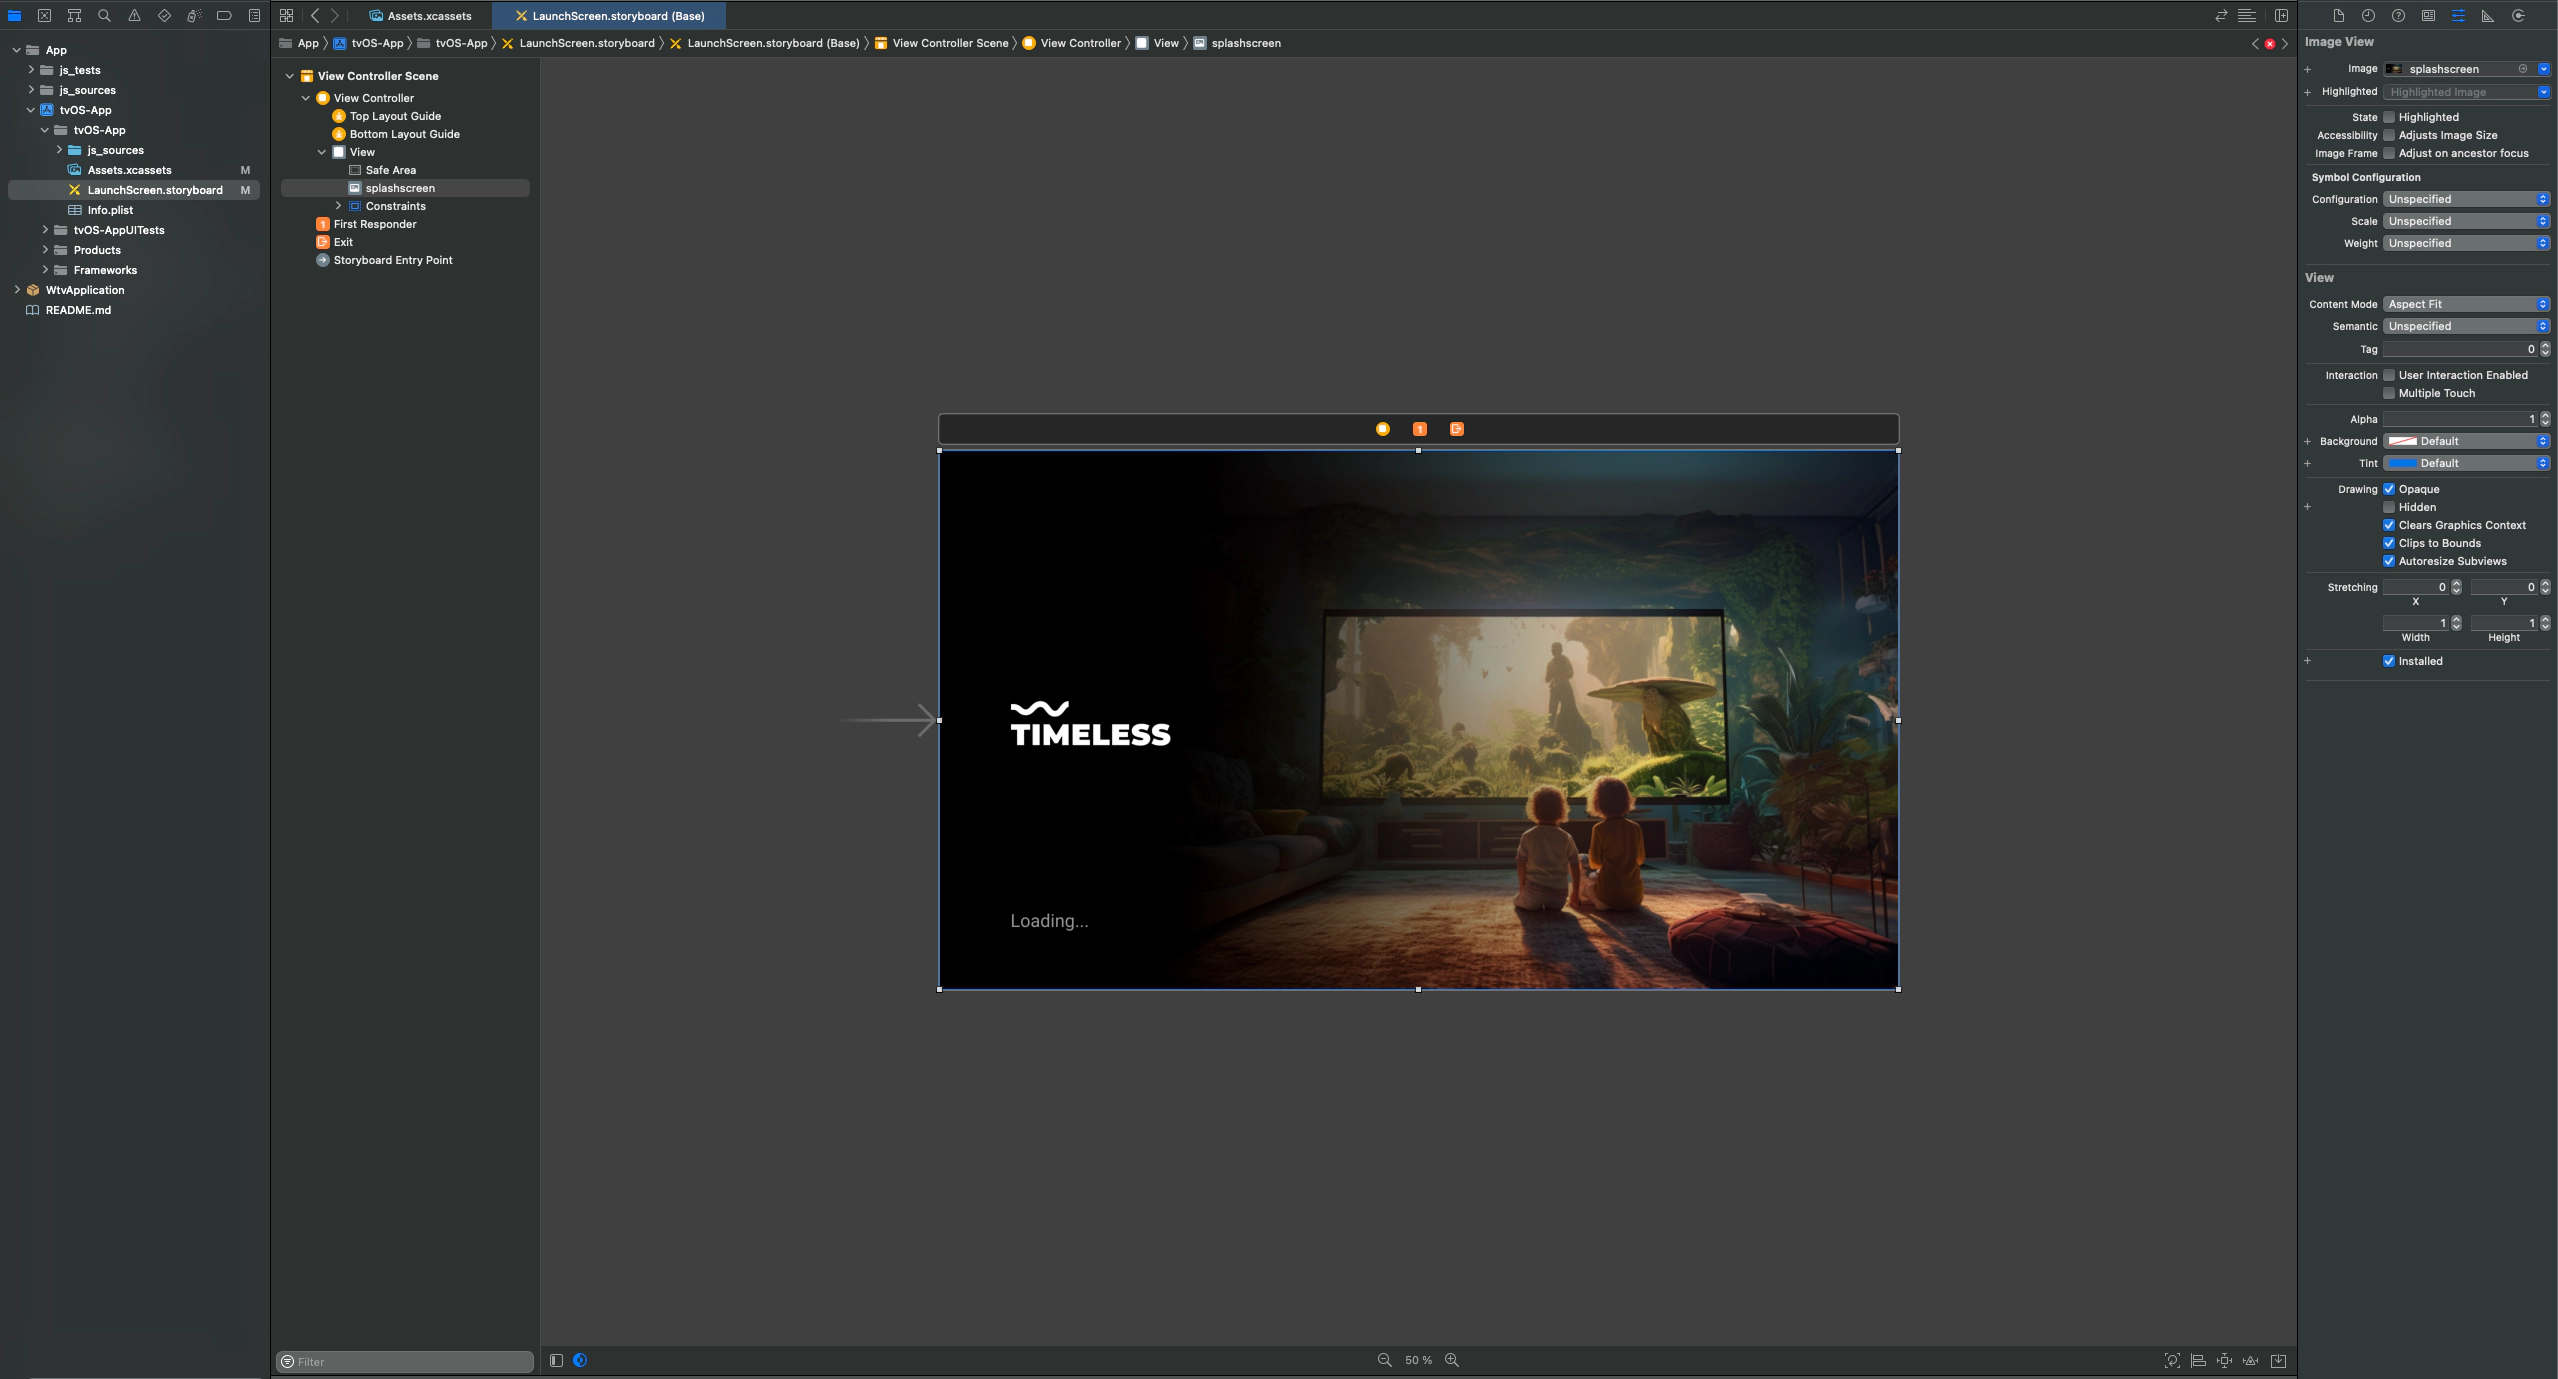
Select the Image Set “splashscreen” and drag an drop in the view of “LaunchScreen.storyboard” Below the result after the constraint fixed.
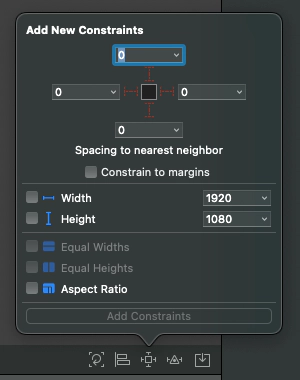
To fix the constraints you have a button at the bottom right of the xcode screen.
- Validate
Don’t forge to remove the application from your device before testing to see the result.
